vSphere 6.0 vCenter Windows 2012 R2 with SQL Server Install GuideTuesday, September 29, 2015 - by Keith A. Smith
VMware vSphere 6.0 has brought a simplified deployment model where the dependency on Microsoft SQL server has been reduced. You now have the option of using the built-in vPostgre SQL provided by VMware, vPostgres on windows is limited to 20 hosts and 200 virtual machines.
vCenter System requirements
Supported Windows Operation System for vCenter 6.0 Installation:
Supported Databases for vCenter 6.0 Installation:
1. Make sure that you using static IP for your VM and you create forward and reverse DNS records on your DNS server. Also make sure that the machine is part of Windows domain. 2. Create an account in your Active Directory, this will be used on the SQL server for the vCenter database 3. Now you need to create a blank SQL database on an SQL server. 4. Once your blank database is created, you need to add the account you created in your Active Directory. Make sure to give it sysadmin for the server role.
Before you start the installer make sure your Windows Server VM is fully patched, otherwise you might get a prompt to patch the server. The two patches that are needed are below 5. During the vCenter installation process you might get a prompt asking to give the administrator’s account the right to Log On as a service on the server that run vCenter. You need to grant the domain account you created earlier the right to Log On as a service. The steps:
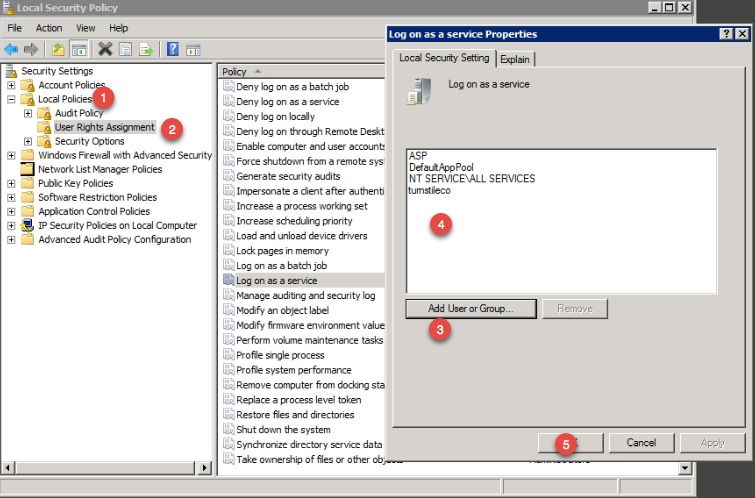
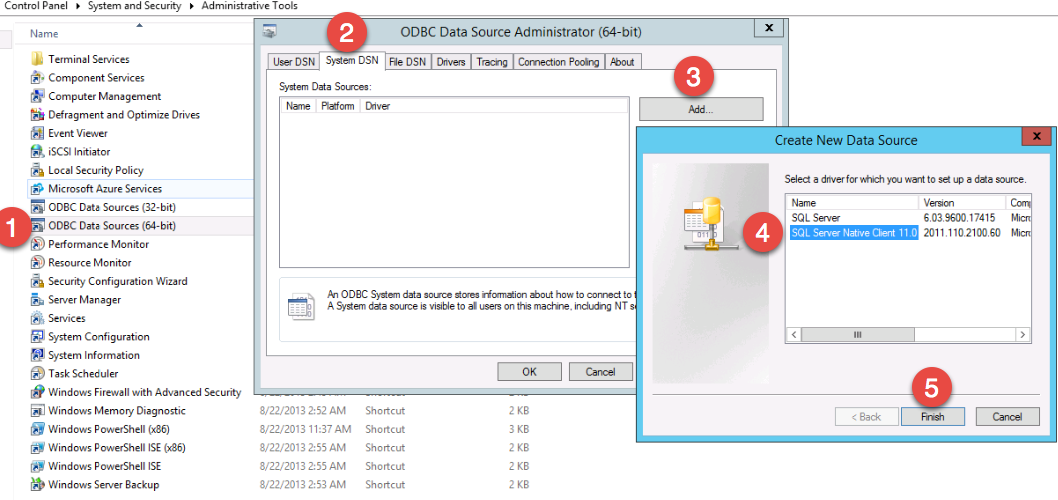
6. Important - The SQL server native client is necessary to create the system DSN. To download the SQL Server Native Client, click on the link below This ODBC Driver for SQL Server supports x86 and x64 connections to SQL Azure Database, SQL Server 2012, SQL Server 2008 R2, SQL Server 2008, and SQL Server 2005.
http://www.microsoft.com/en-us/download/confirmation.aspx?id=36434
7. Now that the SQL Server Native Client is installed, create system DSN through ODBC data source administrator (64-bit).
Proceed through the wizard 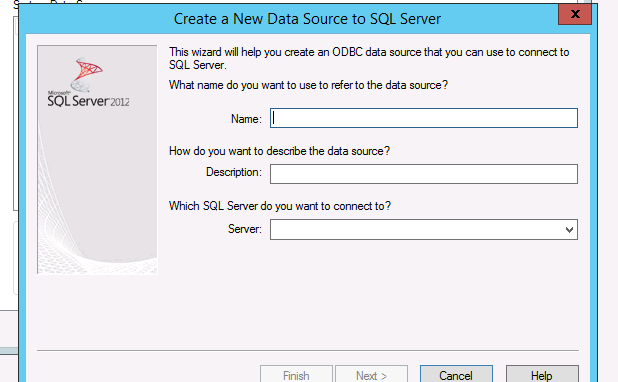
8. Once you have fill out all the SQL server information, make sure you test the data source 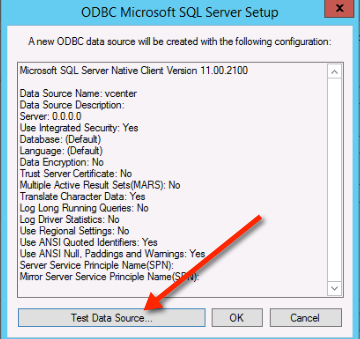
If you everything is setup correctly then you should see this 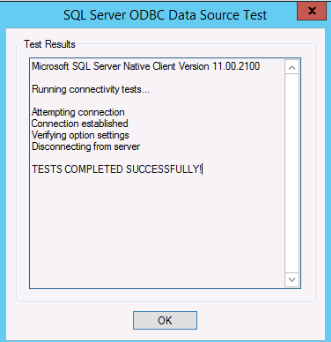
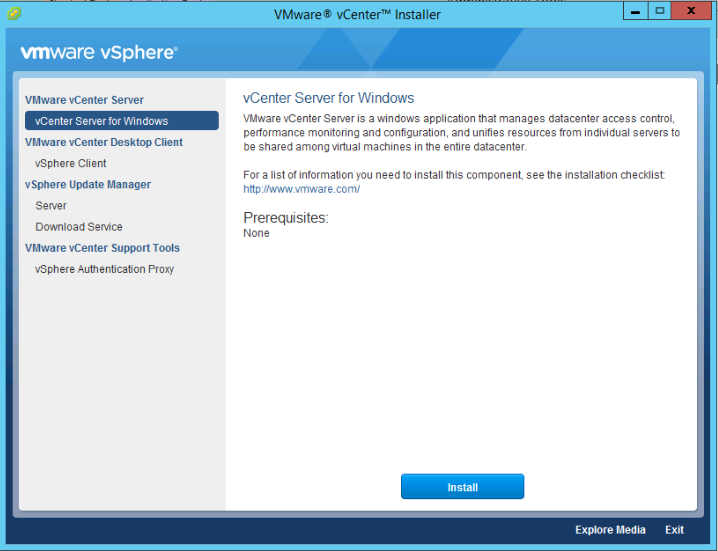
9. Mount the vCenter server ISO and double click the autorun.exe
10. Proceed through the vCenter install
11. Once you get to the database settings, you will need to choose use an external database. If you DSN is blank then click the refresh button and it should appear 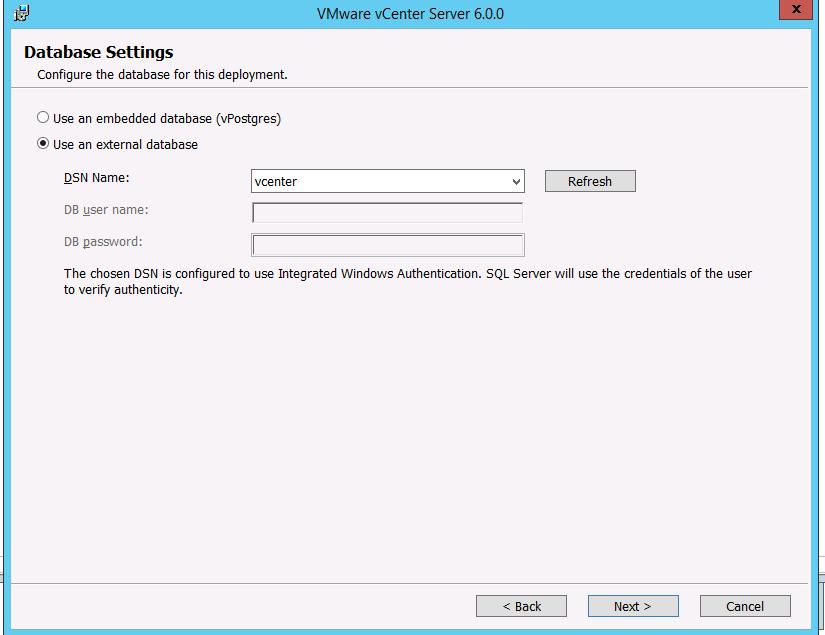
Continue the setup wizard and leave the default values… You should see the setup complete screen. At this point you can open up a browser and visit the vCenter interface which uses adobe flash.
-End |
| Tweet |


 Comments
